
Proving identity on Government websites with a non-UK passport
Are you struggling to access HMRC and other government services online because you have a non-UK passport or ID?
Setting up an account and logging in to Government Gateway is essential to be able to access your tax records, pension records and other finance information. This is a step-by-step guide to proving your identity and setting up an account, for EU citizens and other non-UK passport holders.
This guide assumes that you have a passport containing a chip, and access to a smartphone, so that you can download the GOV.UK ID Check app to scan your passport. Section C, step 5, is the crucial step in which you choose whether to use this app, or whether to enter details about documents and records. If you choose documents and records, then you are likely to be asked about British passports, or UK driving licenses which some people do not have.
The guide is divided into four sections. If you do not have a Gateway account yet, start at the beginning. However, if you already have one but have not managed to complete all the sections, then when you log in with your Gateway account you will likely be presented with a screen asking you to complete the process. We list the steps below so that you can hopefully jump straight to the screen that’s relevant to you.
If this process does not work, you should contact the HMRC helpdesk.
Please also contact us to tell us about your experience if you are unable to get verified and gain access to your online records.
Section A: Creating a Gateway account
- Section A - Step 1. Sign in using Government Gateway

If you do not yet have a Government Gateway user ID, select the “Create sign in details” link.
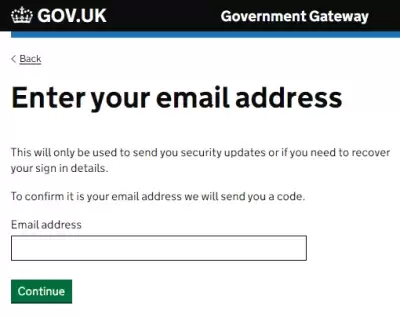
- Section A - Step 2. Enter your email address
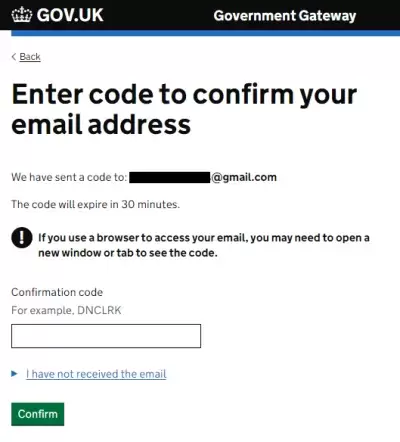
- Section A - Step 3. Enter code to confirm your email address
- Section A - Step 4. Email address confirmed

- Section A - Step 5. What is your full name?

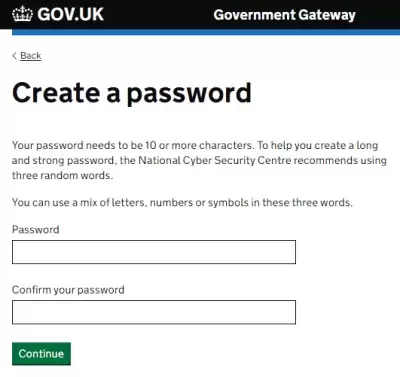
- Section A - Step 6. Create a password
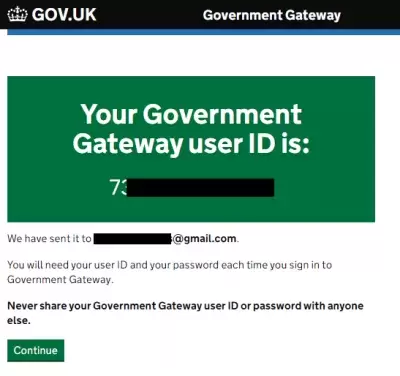
- Section A - Step 7. Confirmation that your Government Gateway user ID has been created
Section B: Setting up additional security on your Gateway account
- Section B - Step 1. Choose the type of account you need
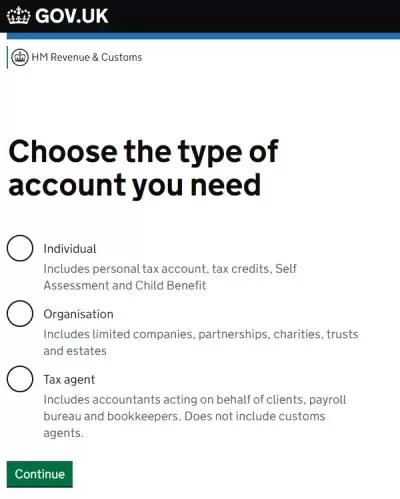
We chose "Individual"
- Section B - Step 2. You need to set up additional security

- Section B - Step 3. How do you want to get access codes?

We chose "Text message"
- Section B - Step 4. Are you adding a UK mobile number?
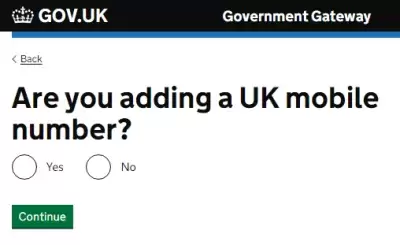
We chose "Yes"
- Section B - Step 5. Enter a UK mobile phone number

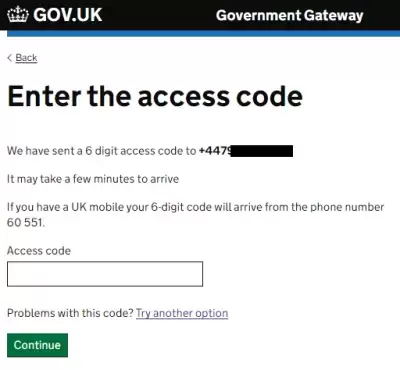
- Section B - Step 6. Enter the access code
- Section B - Step 7. You’ve set up additional security

Section C: Proving your identity using a non-UK passport
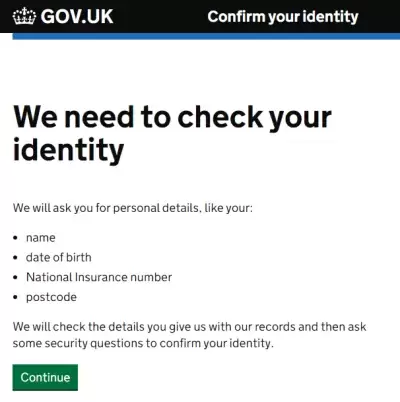
- Section C - Step 1. We need to check your identity
- Section C - Step 2. Enter your details (name and date of birth)

- Section C - Step 3. What is your National Insurance number?
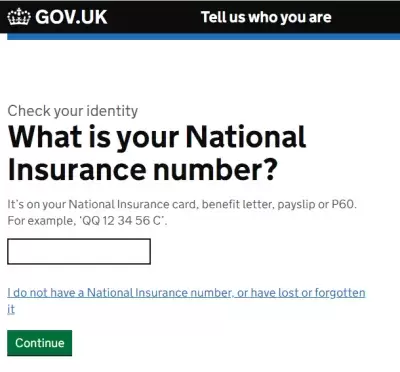
We entered a valid National Insurance number
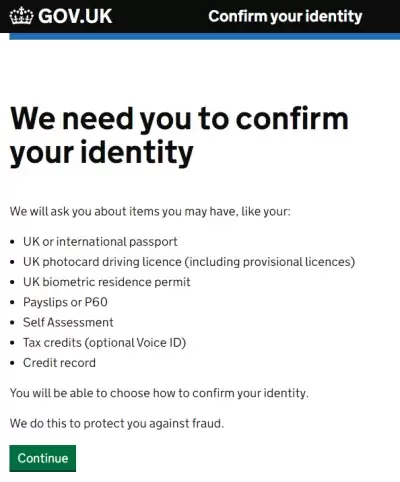
- Section C - Step 4. We need you to confirm your identity
- Section C - Step 5. Choose how to prove who you are
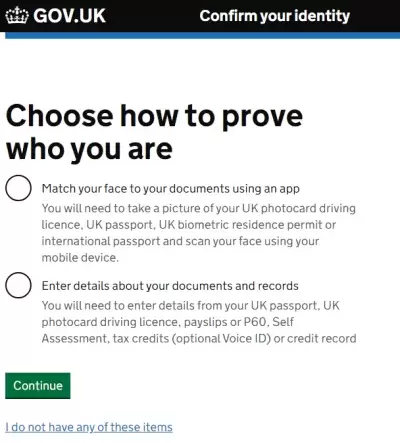
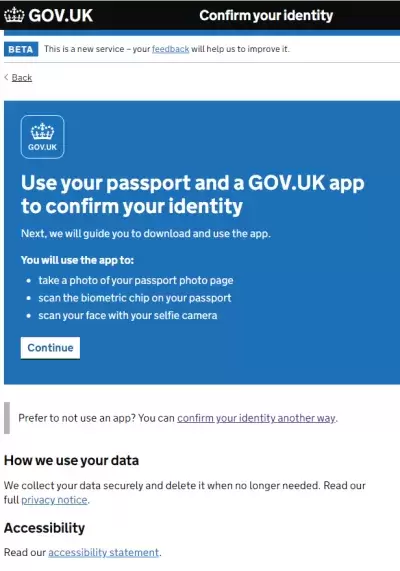
We chose "Match your face to your documents using an app" which allows scanning of a non-UK passport.
Choosing “Enter details about your documents and records” will not allow you to use a non-UK passport to identify yourself, but you may be able to verify your identity via sufficient other options including credit record, P60s, UK driving licence etc.
- Section C - Step 6. Are you on a computer or tablet right now?
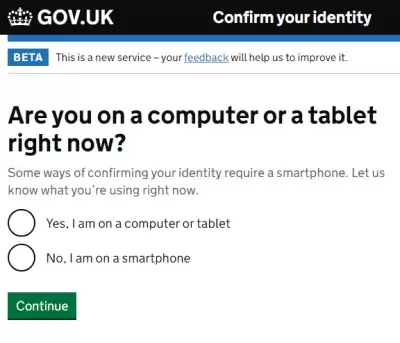
If you are working on a computer or tablet, and choose “Yes, I am on a computer or tablet”, then Step 7a will shown.
If you are working on a smartphone, and choose “No, I am on a smartphone”, then Step 7b will be shown.- Section C - Step 7a (if working on a computer or tablet). Do you have a smartphone you can use?
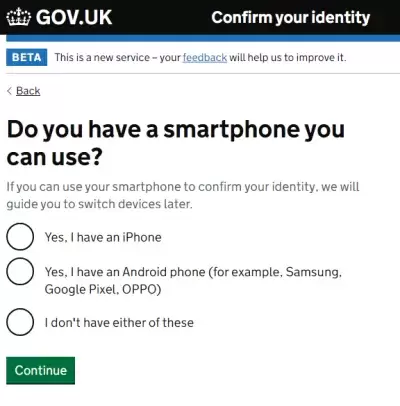
We chose “Yes, I have an Android phone (for example, Samsung, Google Pixel, OPPO)
- Section C - Step 7b (if working on a smartphone). Which smartphone are you using?
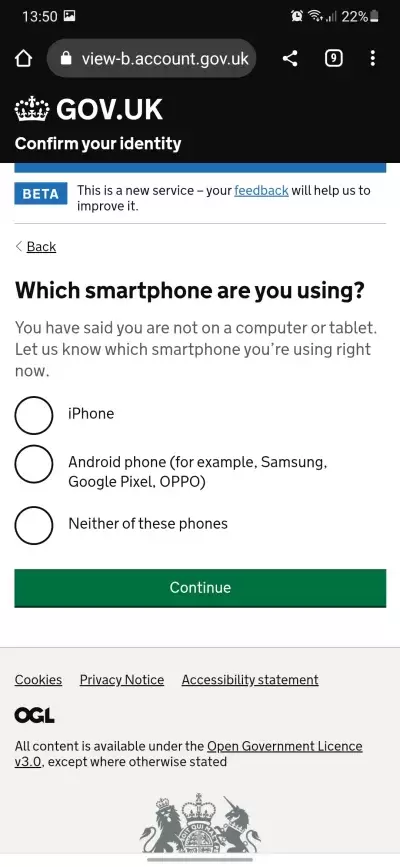
We chose “Android phone (for example, Samsung, Google Pixel, OPPO)
- Section C - Step 8. Do you have a valid passport?
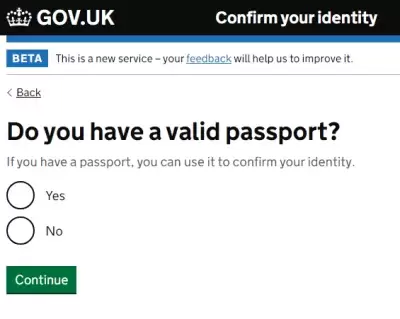
We chose "Yes"
- Section C - Step 9. Does your passport have this symbol on the cover?
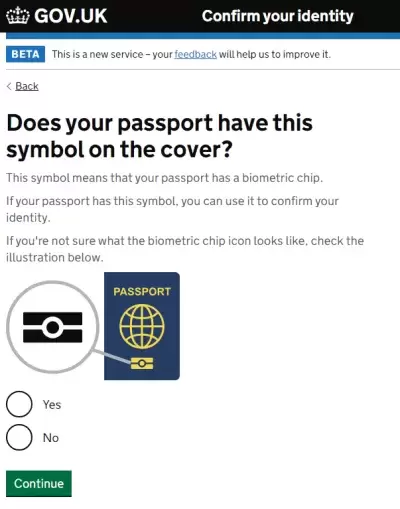
We chose "Yes"
- Section C - Step 10. Use your passport and a GOV.UK app to confirm your identity
- Section C - Step 11. Does your smartphone have a working camera?
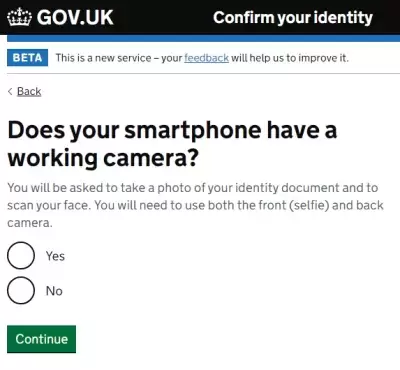
We chose "Yes"
- Section C - Step 12. The app uses flashing colours. Do you want to continue?

We chose "Yes"
- Section C - Step 13a (if working on a computer or tablet). Scan the QR code to continue confirming your identity on your phone

At this stage, follow the instructions to scan the QR code with your smartphone, which should lead you to download the GOV.UK Exit Check ID app, as described in Section D.
- Section C - Step 13b (if working on a smartphone). Download the GOV.UK ID Check app
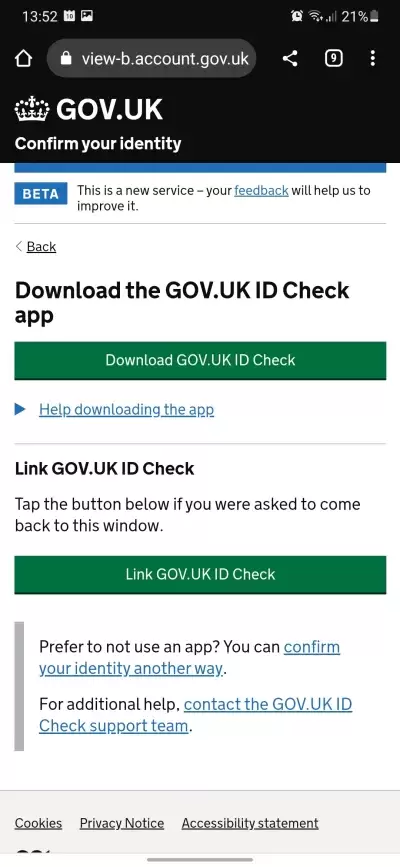
Pressing the ‘Download GOV.UK ID Check’ button should lead you to download the GOV.UK Exit Check ID app, as described in Section D.
Section D: Using the GOV.UK ID Check app on your smartphone
- Section D - Step 1. Install GOV.UK ID Check app from Google Play or App Store
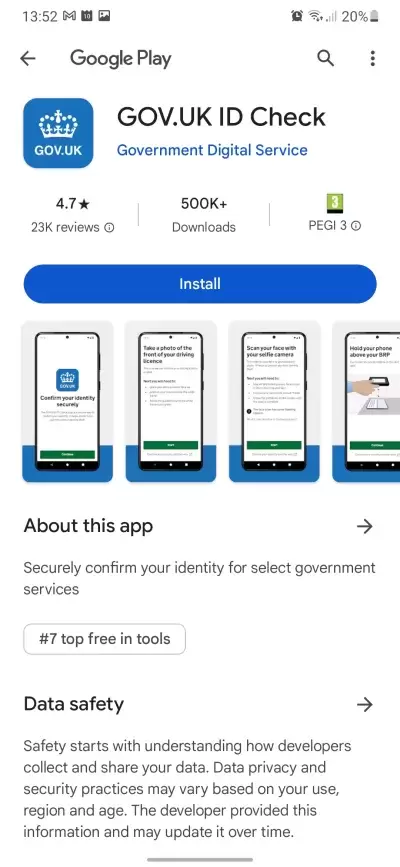
Install the app on your smartphone. If you have previously already installed the app, the process will jump to “Section D - Step 7”.
- Section D - Step 2. Open the GOV.UK ID Check app
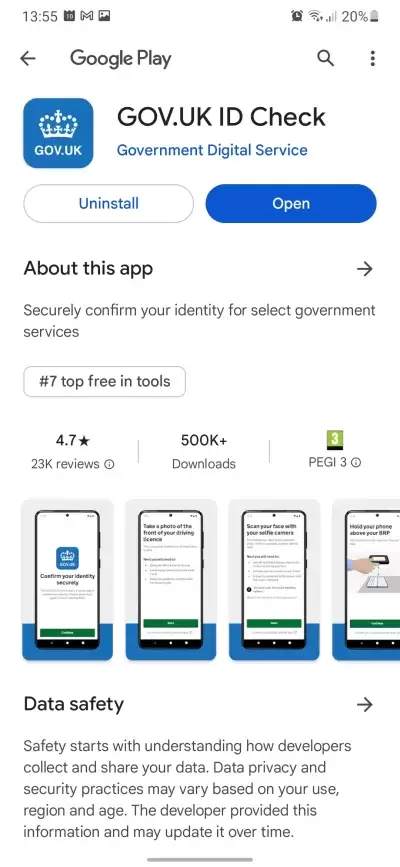
After the GOV.UK ID Check app has installed, press Open to launch the app.
- Section D - Step 3. Invitation to share analytics
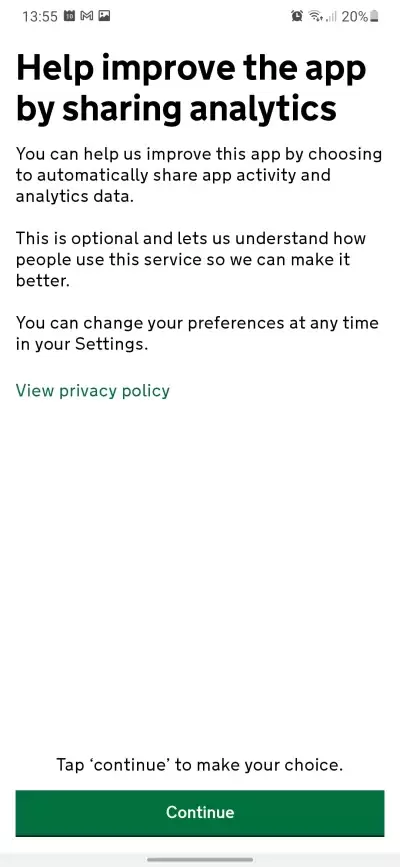
By pressing the Continue button, you will be given the choice to share analytics or not (see next step).
- Section D - Step 4. Action to share analytics
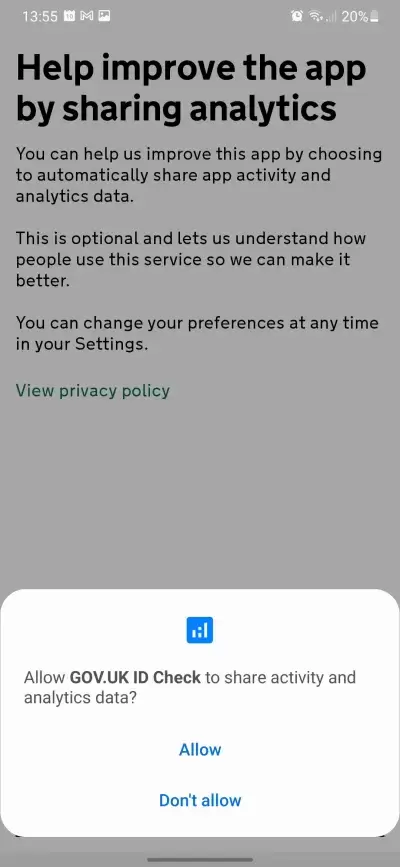
You can select ‘Allow’ or ‘Don’t allow’ according to whether you wish to share analytics data.
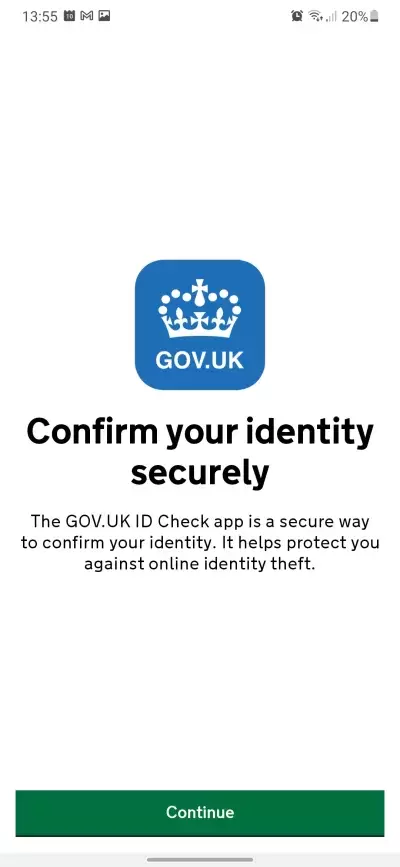
- Section D - Step 5. Purpose of the GOV.UK ID Check app
- Section D - Step 6. Link this app to GOV.UK
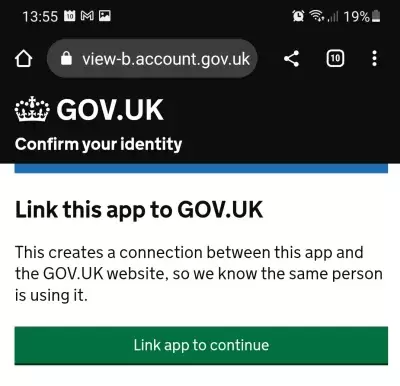
This is what is shown if you did the whole identity process (Section C and D) on a smartphone.
If instead you did Section C on a computer / tablet, and then scanned a QR code from your smartphone to be directed to download the app, then the process is slightly different.
You will be directed to use your smartphone to scan the second QR code (shown in Section C Step 13a) which should still be visible on your computer / tablet.
This will then link your use of the app on your smartphone with your logged in session on your computer / tablet.
- Section D - Step 7. Take a photo of your passport photo page
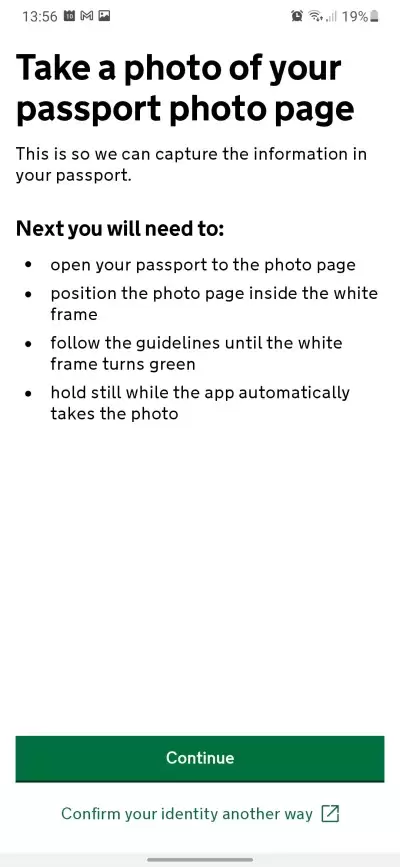
This step describes how to take a photo of your passport photo page. The next step will show a little animated video to give a bit more explanation.
- Section D - Step 8. Take a photo of your passport photo page (video explanation)
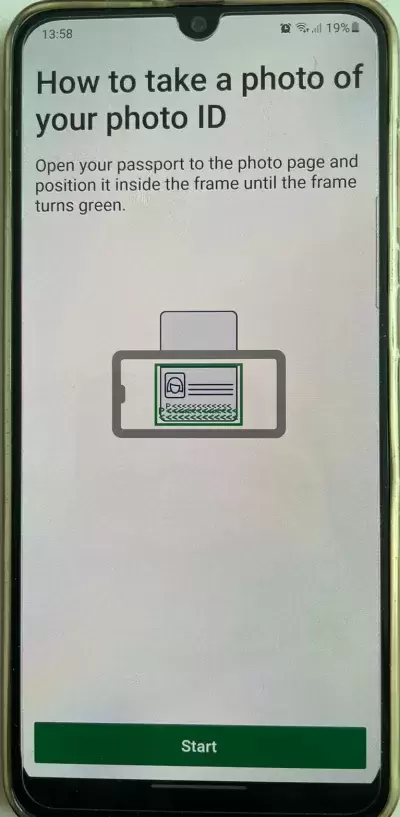
The system does not allow this page to be screenshotted, so we took a photograph of our phone instead.
When you press Start, you need to follow the instructions and the app will automatically take the photo when the photo page is in the frame, you will not need to do anything.
- Section D - Step 9. Confirmation that passport information has been captured

The app will show you the photograph of your passport that has been captured.
- Section D - Step 10. Scan the biometric chip in your passport
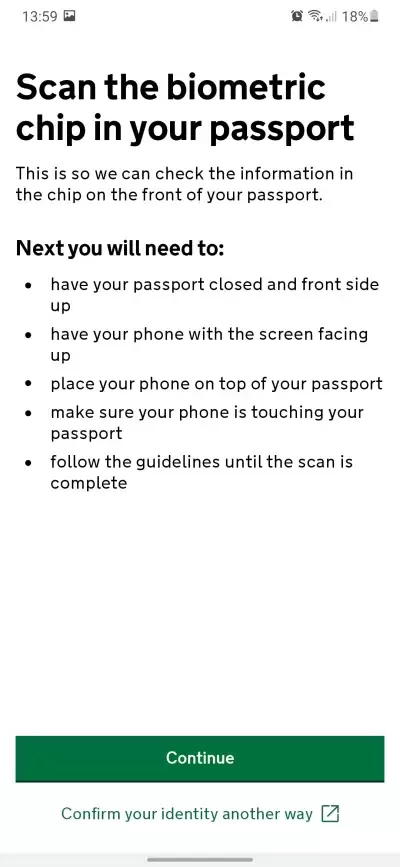
This step describes how to scan the chip in your passport. The next step will show a little animated video to give a bit more explanation.
- Section D - Step 11. Scan the biometric chip in your passport (video explanation)
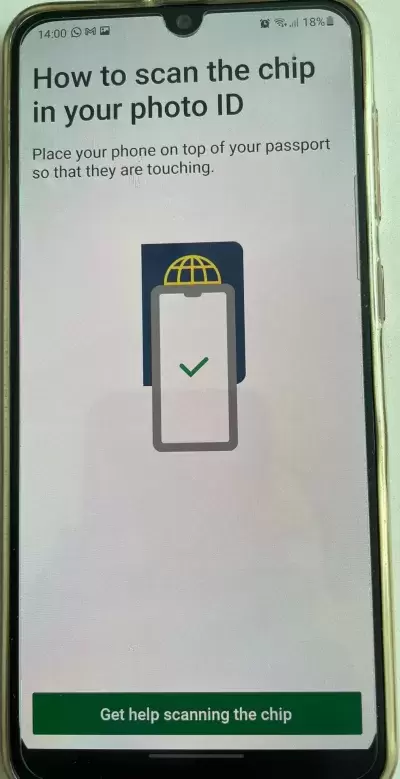
The system does not allow this page to be screenshotted, so we took a photograph of our phone instead.
At this stage, follow the instructions and place your phone on your passport until the scan succeeds.
Note, it may be necessary to try this several times before it succeeds - it kept failing for us so we tried to place the phone on our passport in a slightly different place each time. After about five attempts it succeeded.
- Section D - Step 12. Your scan was successful
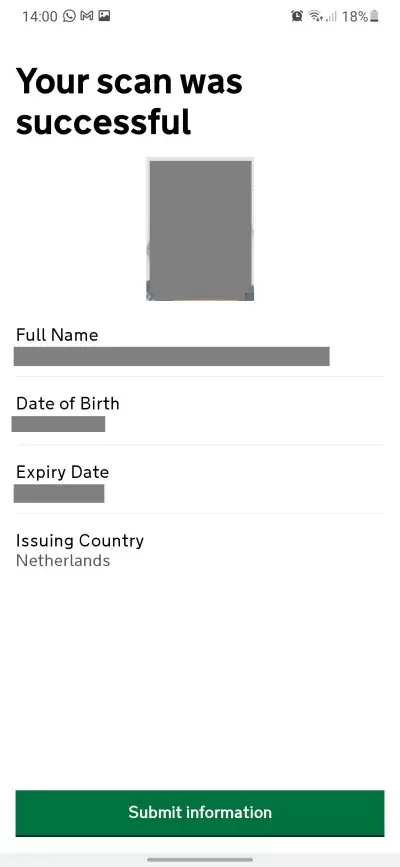
Once the scan is successful, the system will display some of the details it read from the passport chip.
The chip contains your photograph, and the biometric information that is displayed in the ‘machine readable zone’ (MRZ) at the bottom of your passport photo page.
- Section D - Step 13. Scan your face with your selfie camera
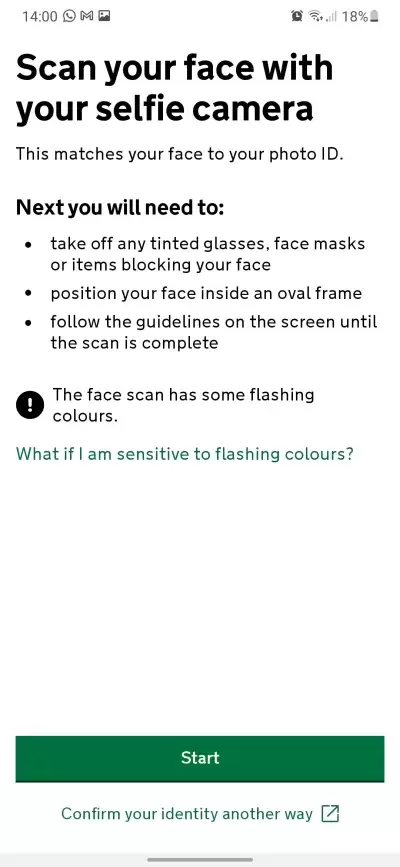
As soon as you press Start, your phone will automatically show you an oval frame and the scanning will start once your face fits. The app will tell you if you need to move closer or further away.
- Section D - Step 14. Exit the GOV.UK ID Check app
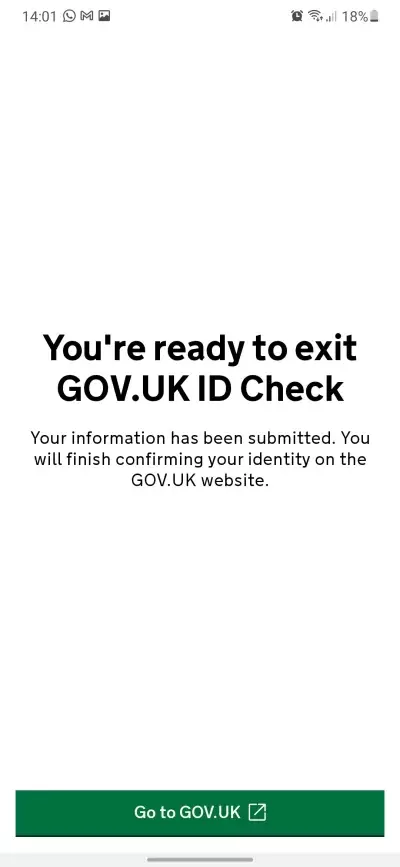
Once the face scan succeeds, the app will show a final confirmation screen. One you press ‘Go to GOV.UK’, you will be automatically returned to your browser on your phone, which will display the result of the ID Check.
If you had done Section C on a computer/tablet, then this screen on your smartphone will instruct you to return to your browser on your computer/tablet.
In Step 15a we show what happens if the identity check has failed, and in Step 15b we show a successful identity check.
- Section D - Step 15A. Identity check fails
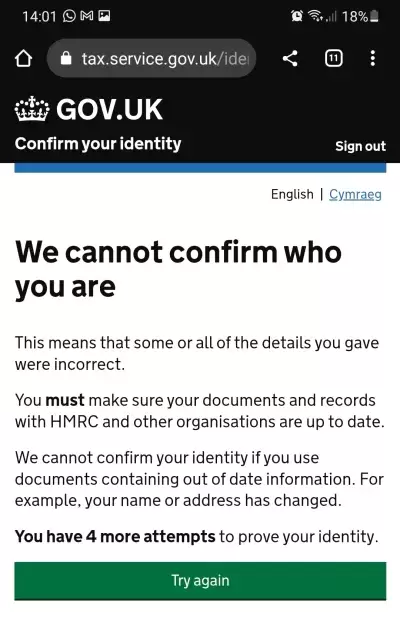
Your identity check will fail if the details obtained from your passport do not match the details you provided in the previous part of the Gateway account application.
One common reason for this will be for women who use their married name in the UK across all GOV.UK, including HMRC and DWP, but whose passport only shows their birth name in the machine-readable zone (MRZ).
This is very common practice for many European countries, including the Netherlands, France, Spain and others.
Even if the photo page itself displays the married name (for example in the form of a line underneath the surname that says “spouse of Married Name”), if the married name is not displayed in the MRZ at the bottom of the photo page of the passport then the identity check will fail.
In this case you will unfortunately have no choice but to either try to confirm your identity another way (not using the app), or to contact HMRC / DWP by telephone. If you are unable to get verified and gain access to your online records, please contact the3million at https://the3million.org.uk/contact-us.
- Section D - Step 15B. Identity check succeeds
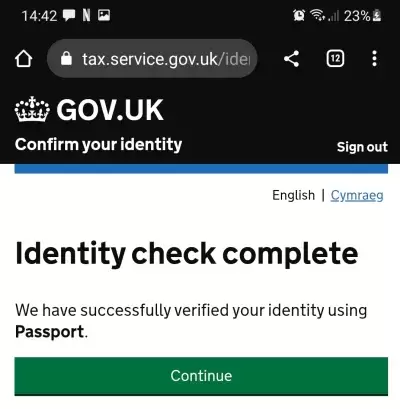
If the identity check succeeded, you will see this screen, and pressing continue will show a further confirmation screen (next step)
- Section D - Step 16. We have confirmed your identity
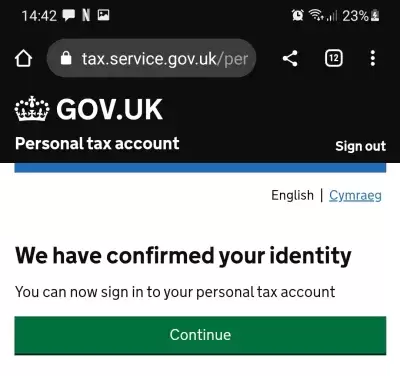
The identity confirmation is now complete, and pressing Continue should take you to the initial part of HMRC or DWP that you were trying to log into.
Going forwards, you should be able to log in using your Gateway ID and password, using the extra security that you set up in Section B (for example having a security code sent via SMS to your phone).


